Below is a guide on how to setup POP_OS! to develop spectrum next games using VSCode as the dev environment and #CSpect emulator. I’ve written this guide for my own personal use as there are several steps to getting the setup working.
The Objective
Setup Visual Studio code on Linux, so we can write spectrum next basic games and run them on an emulator directly from VS Code using a keyboard shortcut. To achieve this we need the following..
- #CSpect emulator
- Mono
- hdfMonkey
- Download 2gb Next Image
- VS Code
- Remy Sharps NextBasic Extension
Follow the steps below to achieve this goal.
Download #CSpect
Firstly download the lastest version of #cSpect from here ( http://cspect.org/ ). This guide uses version V2.14.8.
Extract the files to ~\cspect folder.. We may have to create the folder. We wont be able to test the code yet.
Install Mono
To install Mono we will need to go to the terminal, so fire up the terminal and type in the following commands (one at a time). These instructions came from the following website; they explain each command, so well worth clicking the link and checking out what your are doing. ( https://linuxize.com/post/how-to-install-mono-on-ubuntu-20-04/ )
sudo apt update

sudo apt install dirmngr gnupg apt-transport-https ca-certificates software-properties-common

sudo apt-key adv --keyserver hkp://keyserver.ubuntu.com:80 --recv-keys 3FA7E0328081BFF6A14DA29AA6A19B38D3D831EF

sudo apt-add-repository 'deb https://download.mono-project.com/repo/ubuntu stable-focal main'

sudo apt install mono-complete


mono --version
Once we have done that, we can test launch #cSpect in the terminal by browsing to the directory, setting execute permissions on the exe file and launching it.. thus.. Note – We only have to set the execute flag once (chmod command)
cd ~/cspect
chmod +x CSpect.exe
./CSpect.exe 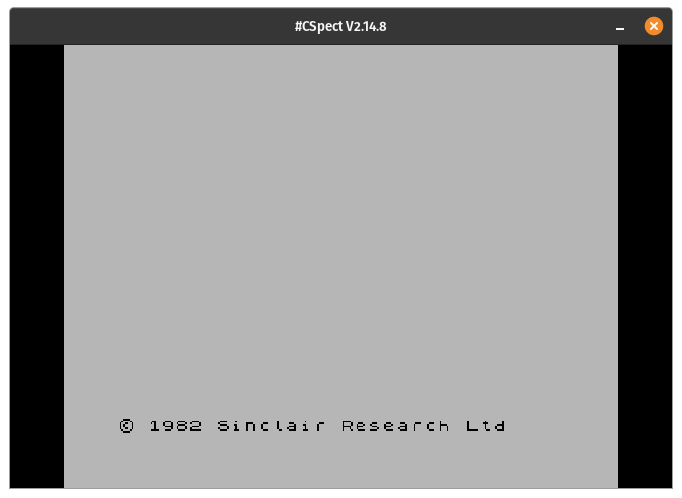
Close #Spect window, we have confirmed that cSpect and Mono are installed correctly.
Installing hdfmonkey
hdfMonkey is required for next development; first we download the tarball from the following website. http://files.zxdemo.org/gasman/speccy/hdfmonkey/
Exrtract this file by double click on the icon and clicking extract. Once extracted move the extracted files into ~/hdfmonkey-0.4 folder using the desktop file browser. Once there, go to the terminal and type in the following commands.
    cd hdfmonkey-0.4
    ./configure
    make
    sudo make install
    hdfmonkey help
If done correctly hdfmonkey help will list commands.. this part of the install is done.
Download 2gb Next Image
Download and extract the 2gb Next Image from the following website. http://zxspectrumnext.online/cspect/#sd
Put the extracted cspect-next-2gb.img file into the same folder as cspect. This step is done.
Install VS Code
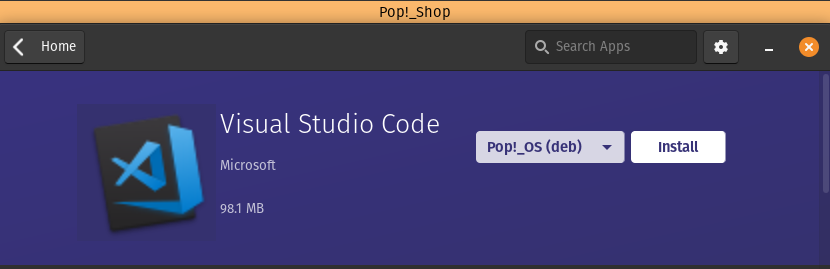
This is an easy step, open the Pop_Shop and find and install Visual Studio Code. I did notice a flatpak version on the store, but we really want the pop!_os version image above.
Once it’s installed, Launch Visual Studio Code.
Install NextBASIC extension
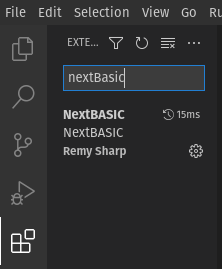
Once VS code has launched, we need to install the nextBasic extension.. On the left hand side, look for the extensions icon (4 squares with the top right square detached). Click on that, and in search Extensions box type in nextBASIC.
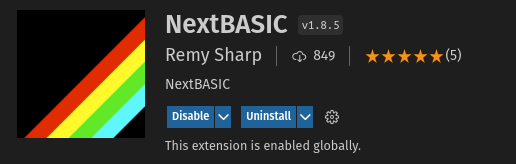
Click on the extension name, and then click on the little blue install button. Once the extension has been install you will need to change the settings. To do this, click on the cog icon (next to uninstall button).
This brings up the extensions settings, we need to find and change the following settings. Notice my username (kev) in the settings, you will need to replace that with your username. (unless your username is also kev 🙂 )
| Setting Name | Setting Value |
| Nextbasic: CSpect | /home/kev/cspect/CSpect.exe |
| Nextbasic: Hdfmonkey Path | hdfmonkey |
| Nextbasic: Next Image Path | /home/kev/cspect/cspect-next-2gb.img |
Checking it all worked!
Hopefully we are at the end of process so now we just need a test program to make sure it all works.. First create an empty directory somewhere (anywhere you like) call it test.
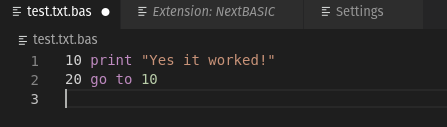
Using visual studio select File -> Open Folder and browse to the test folder. Create a new file, enter the following code.
10 print "Yes it worked!"
20 go to 10
Save the file as test.txt.bas; this should colourize the code, so it looks a bit like.
To run the code, you will need to press F1 and find nextBasic: run with cspect . The easiest way to do this is start typing nex and then select using arrow keys + enter. All being well the following should appear.
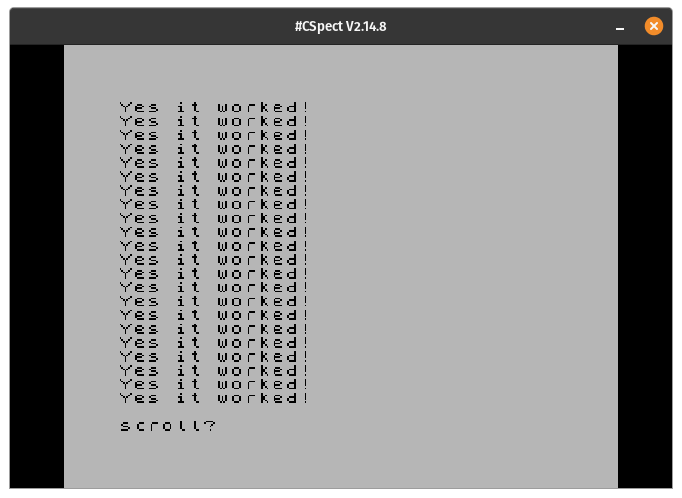
Of course we might think we are still in 48k spectrum mode, so press N to cancel scroll. This will take us to ..
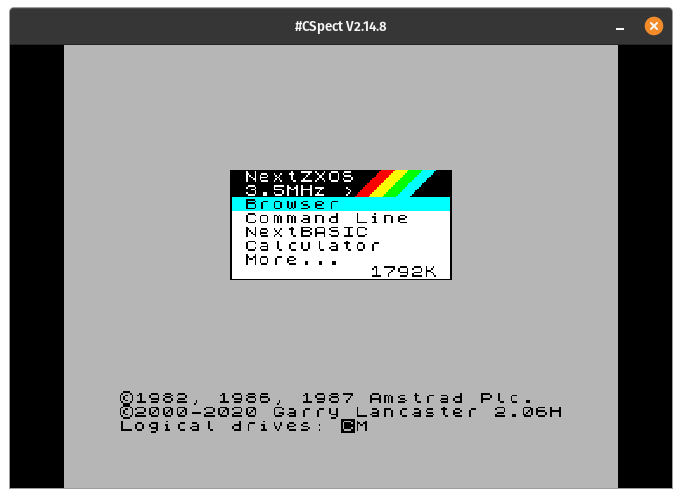
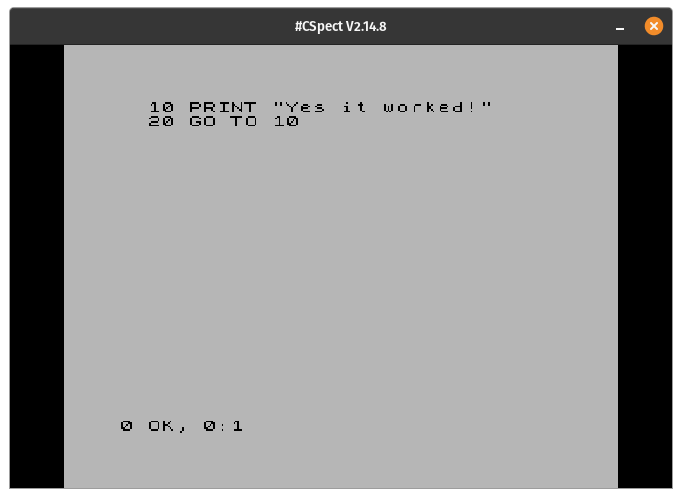
If we go to command line from here type in list we should see our program.
Objective Complete (Bonus Round)
Hopefully this worked for you; and you are now setup to develop basic applications for the Spectrum Next. To make running your code easier you could bind a key to the run command thus reducing the need to press F1 then finding the run with cspect command.
Thanks to…
The various authors of the software I’ve used for this guide. I’ve included links throughout the guide, please go check out the various pages. The setting up Mono guide was particularly useful for this guide, well worth a read. I’ll include them below just to make it easier for everybody 🙂
- #CSpect emulator
- Mono install guide
- hdfMonkey
- Next Image
- VS Code ( in Pop_Shop )
- Remy Sharp, for the excellent extension for VS code.